Understanding of the Histogram in Landscape Photography
Understanding the histogram is essential for any landscape photographer who wants to master exposure and achieve their creative vision. The histogram provides a visual representation of the tonal range in your image, allowing you to make informed decisions in-camera and during post-processing. In this article, we'll delve into the advanced aspects of using histograms, covering their types, reading techniques, and how to use them to enhance your landscape photography.
What is a Histogram?
A histogram is a graphical representation of the distribution of tones in an image. The horizontal axis represents the tonal range, from pure black (left) to pure white (right), while the vertical axis indicates the number of pixels at each tonal value. Understanding this graph is crucial for making adjustments to exposure and contrast.
Types of Histograms
Luminance Histogram: This displays the overall brightness levels in your image, showing the distribution of light and dark areas.
RGB Histogram: This breaks down the tonal distribution into red, green, and blue channels, allowing you to analyze color balance and saturation.
Reading the Histogram
To read a histogram effectively:
Identify Clipping: Check for spikes on the left or right edges, which indicate loss of detail in shadows or highlights.
Evaluate Midtones: A well-balanced histogram typically shows a smooth curve peaking in the midtones, indicating a good distribution of light.
Look for Gaps: Gaps on either side can indicate underexposure or overexposure.
Using Histograms in the Field
When shooting, review your histogram after taking a shot. If the histogram is skewed too far left, your image may be underexposed; if it's skewed right, it may be overexposed. Aim for a balanced histogram that utilizes the full tonal range without clipping.
Adjusting Exposure Using the Histogram
Exposure Compensation: Use your camera’s exposure compensation to adjust the exposure based on histogram feedback. If the histogram is bunched up on the left, increase exposure; if it's on the right, decrease it.
Bracketing: In high-contrast scenes, consider bracketing your shots. Capture multiple exposures and combine them in post-processing to achieve a balanced final image.
Post-Processing and the Histogram
Histograms are invaluable in post-processing:
Adjusting Levels: Use the histogram in editing software to adjust brightness and contrast. Ensure you pull the black and white points to the edges of the histogram to enhance tonal range.
Avoid Clipping: Monitor the histogram as you edit to prevent clipping. Use the histogram to maintain detail in both shadows and highlights while making adjustments.
Common Mistakes
Ignoring the Histogram: Many photographers rely solely on the camera display. Always check the histogram for a more accurate representation of exposure.
Misinterpreting the Histogram: A common misconception is that a centered histogram is always ideal. Depending on the scene, a balanced histogram may not always reflect your creative intent.
Finally
Mastering the histogram is a game-changer for landscape photographers. By understanding its nuances and applying this knowledge in both shooting and editing, you can ensure better exposure, richer tones, and ultimately, more compelling images. Take the time to familiarize yourself with histograms, and you'll elevate your landscape photography to new heights.
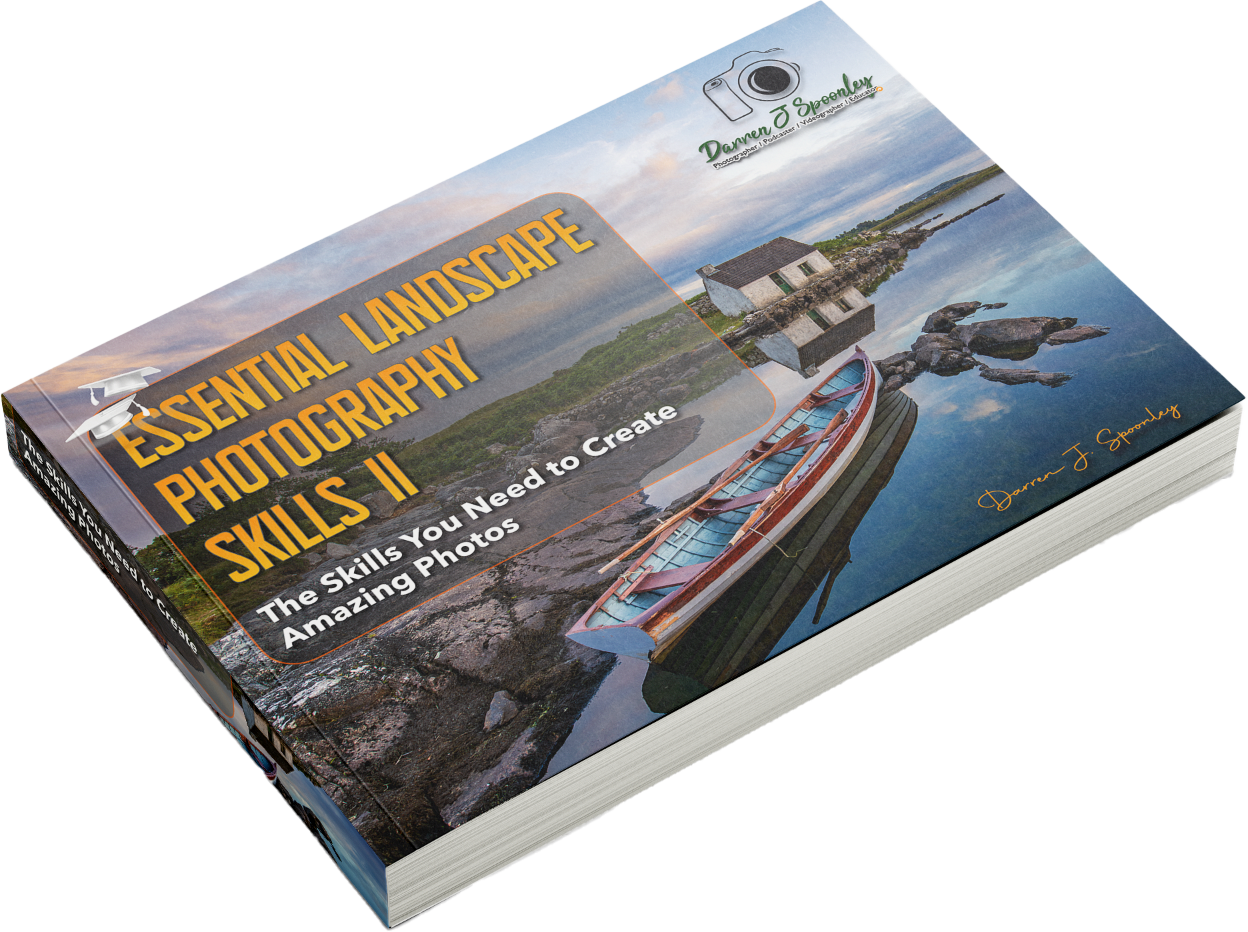
This is the final chapter in Volume II of My Essential Landscapes Photography Skills Book and Video Series, you can watch the supporting video to this chapter below, or you can also download you free copy of the entire e-book when you join my newsletter crew.


